Software Installation
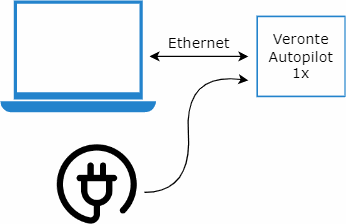
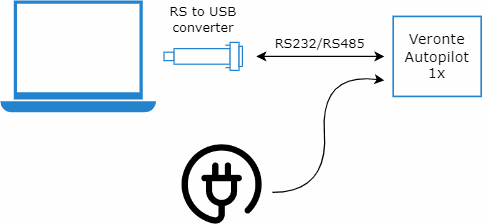
In order to configure and use Veronte Autopilot 1x, there are several ways to connect it to a computer such as via Ethernet or serial.
To install the required software and configure Veronte Autopilot 1x, read the 1x Software Manual.
An example of the configuration required for a correct communication between the PC and Autopilot 1x can be found in the AP communication with PC - Integration examples section of the 1x PDI Builder user manual.
Ethernet connection
For the PC to detect Autopilot 1x connected via Ethernet, the computer must be configured with a static IP address on the same subnet as the autopilot. The following substeps clarify how to set the IP address in the Control Panel:
-
Open Network and Sharing Centre menu and click Change adapter settings.

Ethernet connection 1 -
Select Local Area Connection, right click, and select Properties.

Ethernet connection 2 -
Select IPv4 and click Properties.

Ethernet connection 3 -
Set IP address to 10.X.Y.Z (e.g. if the IP of the Autopilot 1x is 10.3.23.114, set the IP 10.1.1.1) and Subnet mask to 255.0.0.0. Click OK.
Note
To find out the IP address of your Veronte Autopilot 1x:
- All Veronte Autopilots are always on the same network: 10.3.0.0
- The last two bytes depend on the hardware id. These are assigned by converting the Autopilot 1x S/N to hexadecimal and then converting the numbers in pairs back to decimal.
For example, if the S/N is 6002, converted to hexadecimal, 0x1772:
- 0x17 HEX → 23 DEC
- 0x72 HEX → 114 DEC
So the complete IP is 10.3.23.114

Ethernet connection 4
At this point, the PC should correctly detect Autopilot 1x.
Finally, to start working with Autopilot 1x, it must also be recognized in the Veronte Link app. To learn how to configure it, please refer to the UDP connection - Integration examples section of Veronte Link user manual.
© 2025 Embention. All rights reserved.